
Getting bug guts off your car can be a real challenge. Fortunately, there are effective methods to tackle this pesky problem. To remove bug guts off your car, start by spraying a bug remover or a mixture of water and vinegar on the affected areas. Let it sit for a few minutes to loosen the debris. Then, gently scrub the bug guts off with a soft sponge or microfiber cloth. Repeat the process if needed for a spotless finish. Remember, prompt action is key to preventing bug guts from damaging your car’s paint.

How to Get Bug Guts Off Car: A Comprehensive Guide
The Annoying Bug Guts Situation
Imagine cruising down the road in your shiny car, feeling the wind in your hair, and suddenly SPLAT! Bug guts splatter all over your windshield and the front of your car. It’s not the most pleasant sight, right? But don’t worry, we’ve got you covered with easy and effective ways to get rid of those pesky bug remnants. Let’s dive in!
Why Are Bug Guts So Stubborn?
Before we jump into the solutions, let’s understand why bug guts can be so challenging to remove. When you drive at high speeds, bugs don’t stand a chance against your car’s front end. The impact smashes them, leaving behind a sticky residue that can be a pain to clean. Plus, bug guts contain proteins and acids that can bond with your car’s paint, making them even tougher to remove. But fear not, with the right techniques, you can say goodbye to those bug guts in no time.
Prevention Is Key
An ounce of prevention is worth a pound of cure, they say, and the same goes for bug guts on your car. One way to reduce the number of bug splatters is by applying a protective wax coating to your car’s exterior. This makes it harder for bug guts to stick, making them easier to clean off later. Additionally, consider using a bug deflector on the front of your car to minimize direct impact with bugs while driving.
Gather Your Cleaning Supplies
Before you tackle those bug guts, gather the necessary supplies. You’ll need:
- Car wash soap
- Microfiber towels
- Bug and tar remover
- Bucket of water
- Soft sponge or wash mitt
- Plastic razor blade (optional for stubborn spots)
The Art of Cleaning Bug Guts
Now, let’s get into the nitty-gritty of removing bug guts from your car:
Step 1: Rinse the Affected Area
Start by rinsing the bug guts-covered area with water to loosen the residue. Use a hose or a bucket to gently spray water over the splattered spots.
Step 2: Prepare the Soap Solution
Mix car wash soap with water in a bucket to create a soapy solution. Avoid using household detergents as they can strip off the wax coating on your car.
Step 3: Wash the Car
Dip the sponge or wash mitt into the soapy water and gently scrub the bug guts off the car. Work in small sections and rinse the sponge frequently to avoid spreading the residue around.
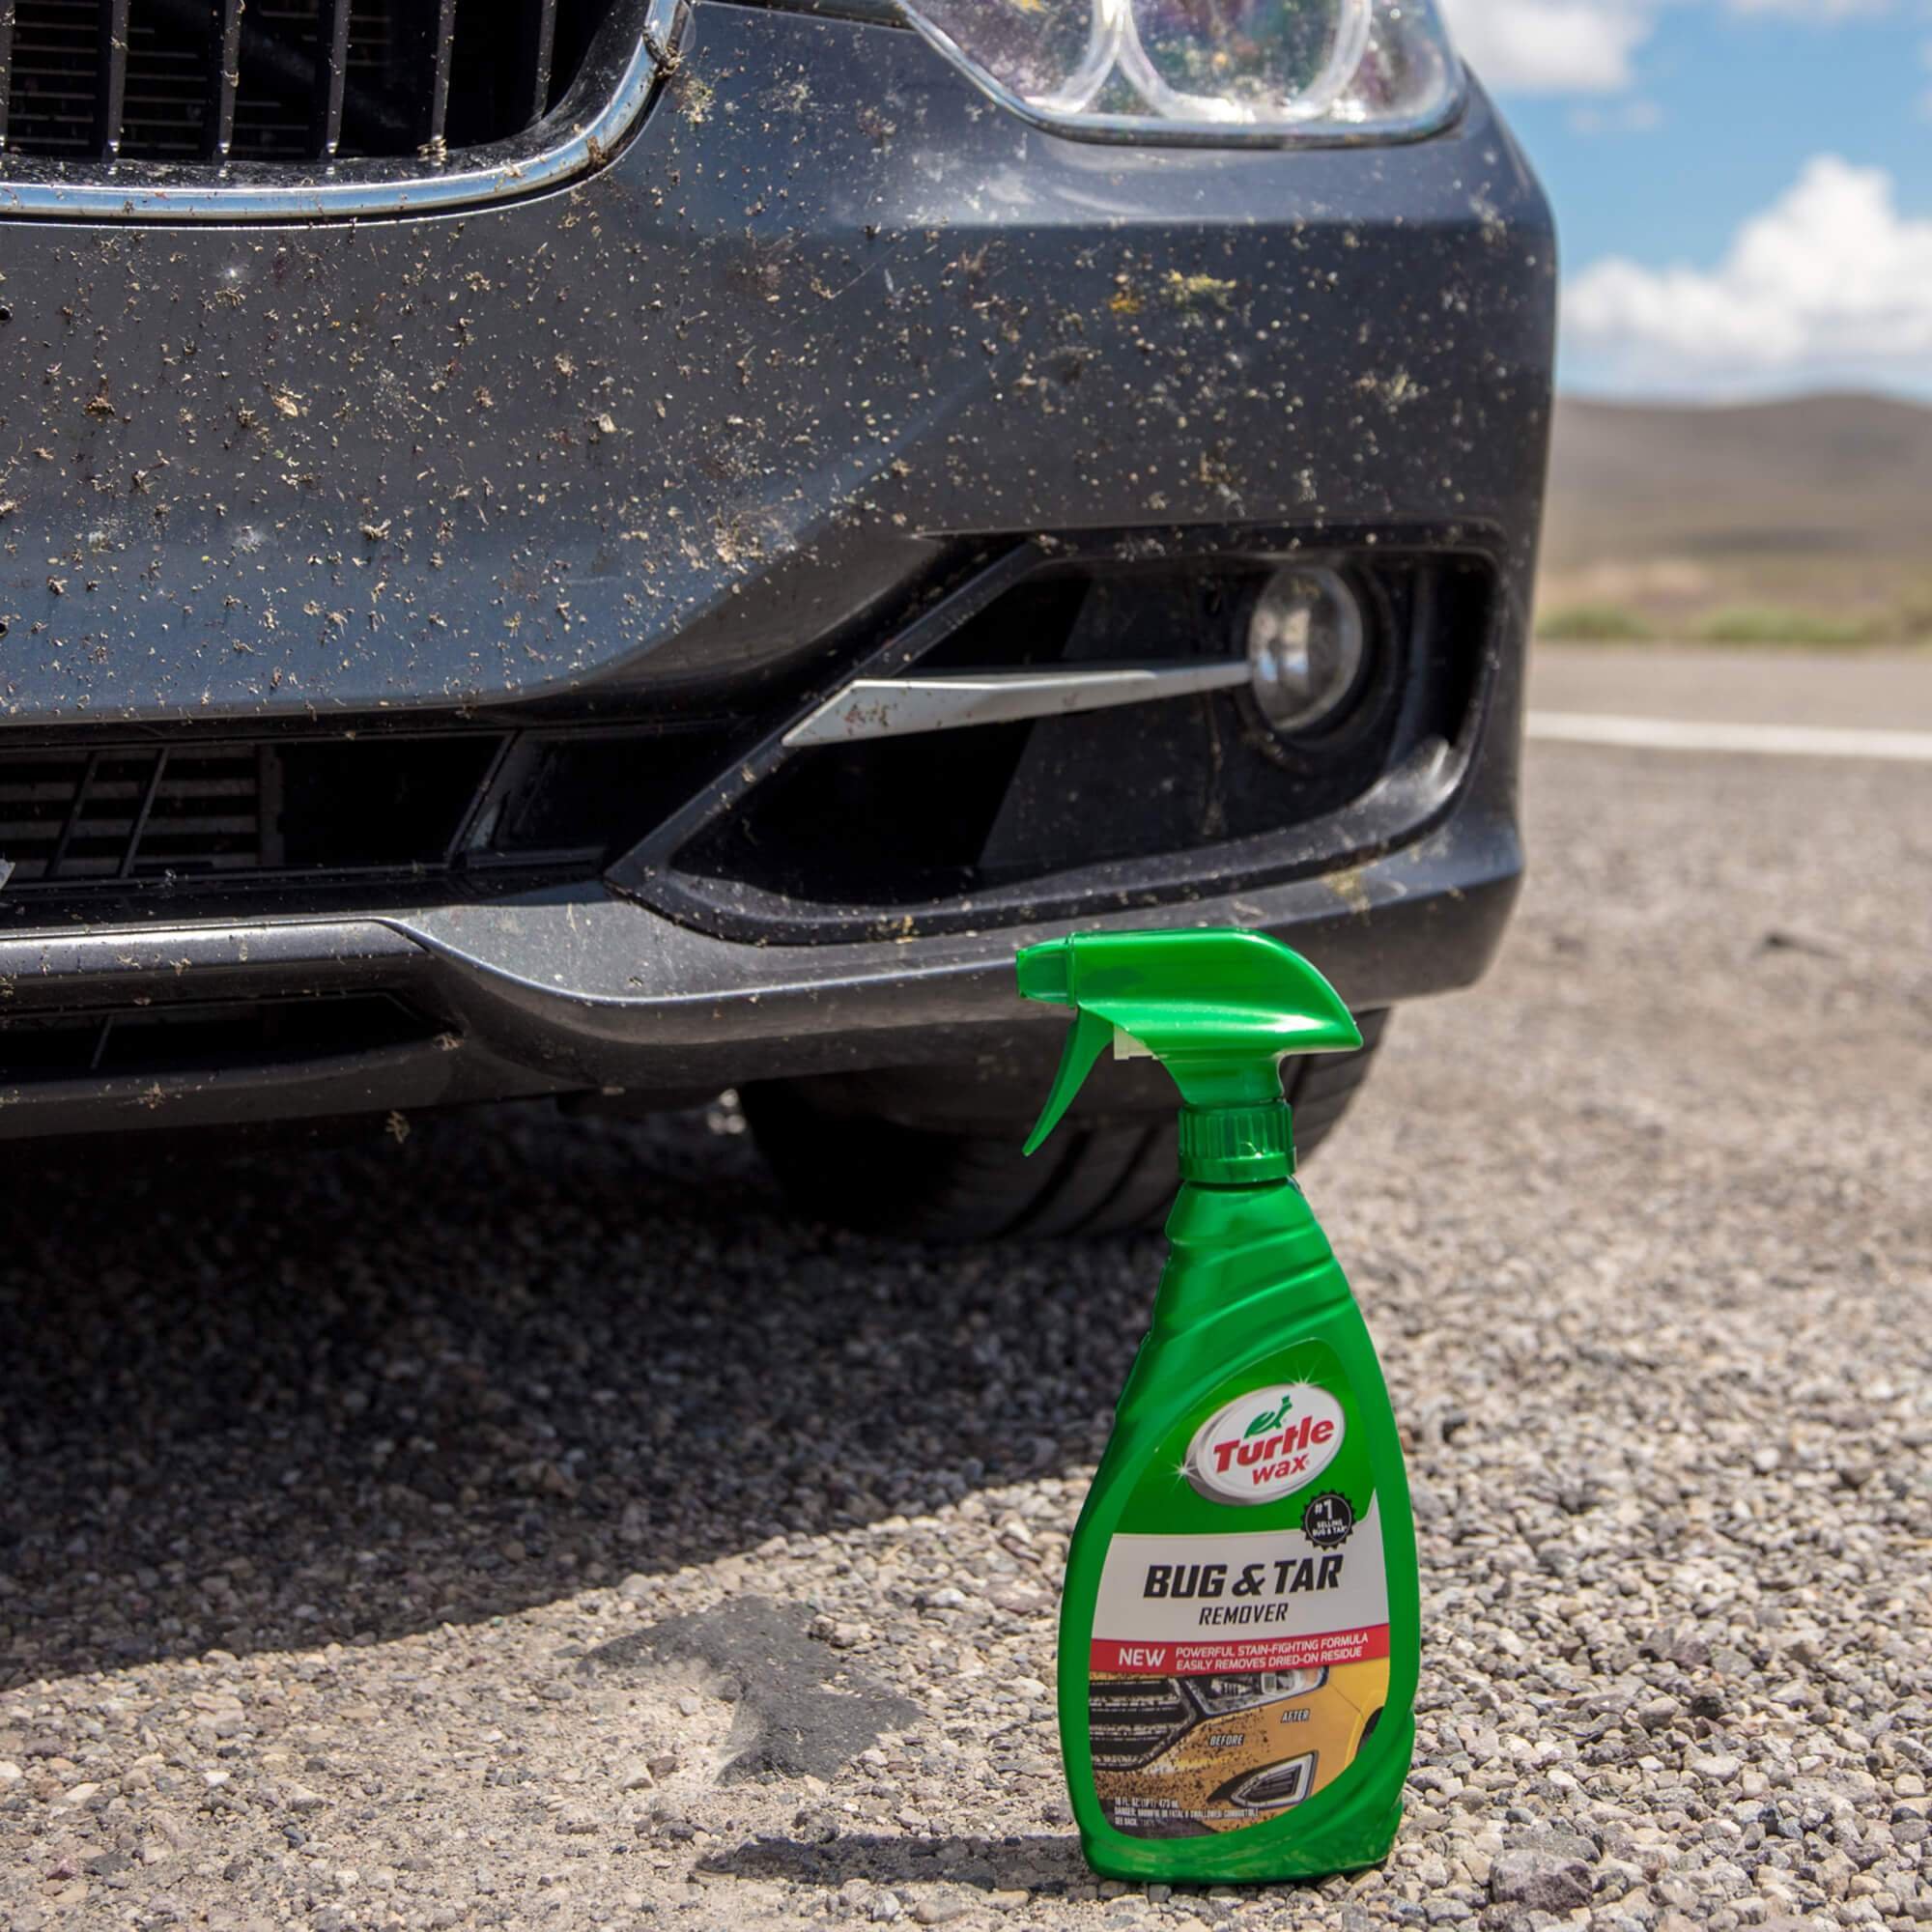
Step 4: Apply Bug and Tar Remover
For stubborn bug guts that refuse to budge, use a bug and tar remover. Apply the remover to the affected area and let it sit for a few minutes to break down the residue. Then, gently wipe it off with a microfiber towel.
Step 5: Rinse and Dry
Once you’ve removed all the bug guts, rinse the area with clean water to remove any leftover soap or residue. Dry the car with a microfiber towel to prevent water spots.
Dealing with Tough Stains
Sometimes, despite your best efforts, some bug guts may leave stubborn stains on your car. In such cases, you can use a plastic razor blade to carefully scrape off the residue without damaging the paint. Remember to lubricate the area with water or a detailing spray to prevent scratching.
Maintain Your Car’s Shine
After you’ve successfully removed the bug guts from your car, it’s essential to maintain its shine and protect it from future bug encounters. Regularly wash and wax your car to create a protective barrier against bug residue. Additionally, consider using a ceramic coating to provide long-lasting protection and make cleaning easier.
Getting bug guts off your car may seem like a daunting task, but with the right tools and techniques, you can restore your car’s pristine appearance in no time. Remember to act promptly when you notice bug splatters to prevent them from causing damage to your car’s paint. By following the steps outlined in this guide, you’ll be able to tackle bug guts with ease and keep your car looking its best. Happy cleaning!
How To Clean Bugs Off Your Car
Frequently Asked Questions
How can I effectively remove bug guts from my car?
To remove bug guts from your car, start by spraying a bug remover or soapy water on the affected areas. Let it sit for a few minutes to loosen the stuck-on residue. Then, gently scrub the area with a microfiber cloth or soft sponge. Rinse the area thoroughly with water. For stubborn spots, you can use a specialized bug and tar remover for better results.
Is it safe to use household items like vinegar or baking soda to clean bug guts off my car?
While vinegar or baking soda can sometimes help with light bug residue, it’s not recommended for extensive bug guts removal as they might be abrasive to your car’s paint. It’s best to use products specifically designed for automotive cleaning to avoid any potential damage to the car’s exterior.
Should I wash my car immediately after removing bug guts?
Yes, it’s recommended to wash your car after removing bug guts to ensure all residues and cleaning products are completely removed. Regular car washing will help maintain the paint and prevent any potential damage from prolonged exposure to bug remains and cleaning chemicals.
Final Thoughts
In summary, removing bug guts off a car can be easily done using household items like vinegar, baking soda, or a bug remover spray. Start by spraying the affected area, letting it soak, and then gently scrubbing with a microfiber cloth. Rinse thoroughly and repeat if necessary to get rid of all remnants. Regularly cleaning bug guts off your car will help prevent damage to the paint and maintain its appearance. Remember, the key is to address the issue promptly using the right products and techniques for how to get bug guts off car.


+ There are no comments
Add yours